

Studio Update
/Work is finally progressing on the new studio space. The shell construction is similar to the old studio but with some notable improvements.
Read MoreWork is finally progressing on the new studio space. The shell construction is similar to the old studio but with some notable improvements.
Read MoreJust a quick update this week. The interior walls have been taped and textured. We just need to paint and install flooring now.
To that end, I've finally decided on the paint and carpet color for the studio. I would have preferred to install some sort of hardwood flooring, but there are a couple of advantages to carpet. With carpet you can get away with less acoustic treatment as the floor is no longer a source of reflections.
I still need to pick the color(s) for the A/V RoomService metu acoustic panels and corner traps, but I want to see how the room looks with paint and carpet first.
The studio walls are going up! Note the resilient channel onto which the sheetrock will be fastened (the horizontal metal strips). The resilient channel acoustically isolates the sheetrock from the stubs. The black strip visible at the top of the walls is the IsoPad from A/V RoomService. Also note that none of the sheetrock seams overlap. This helps to further reduce the transfer of sound in and out of the studio. About half of the sheetrock is up in the studio. The first layer of sheetrock is fastened to the resilient channel (not the studs), then a coat of RoomDamp is applied and finally one more layer of sheetrock. All gaps are sealed with acoustic sealant. Even though the studio walls are not yet complete, the room is noticeably more quiet than the rest of the house.


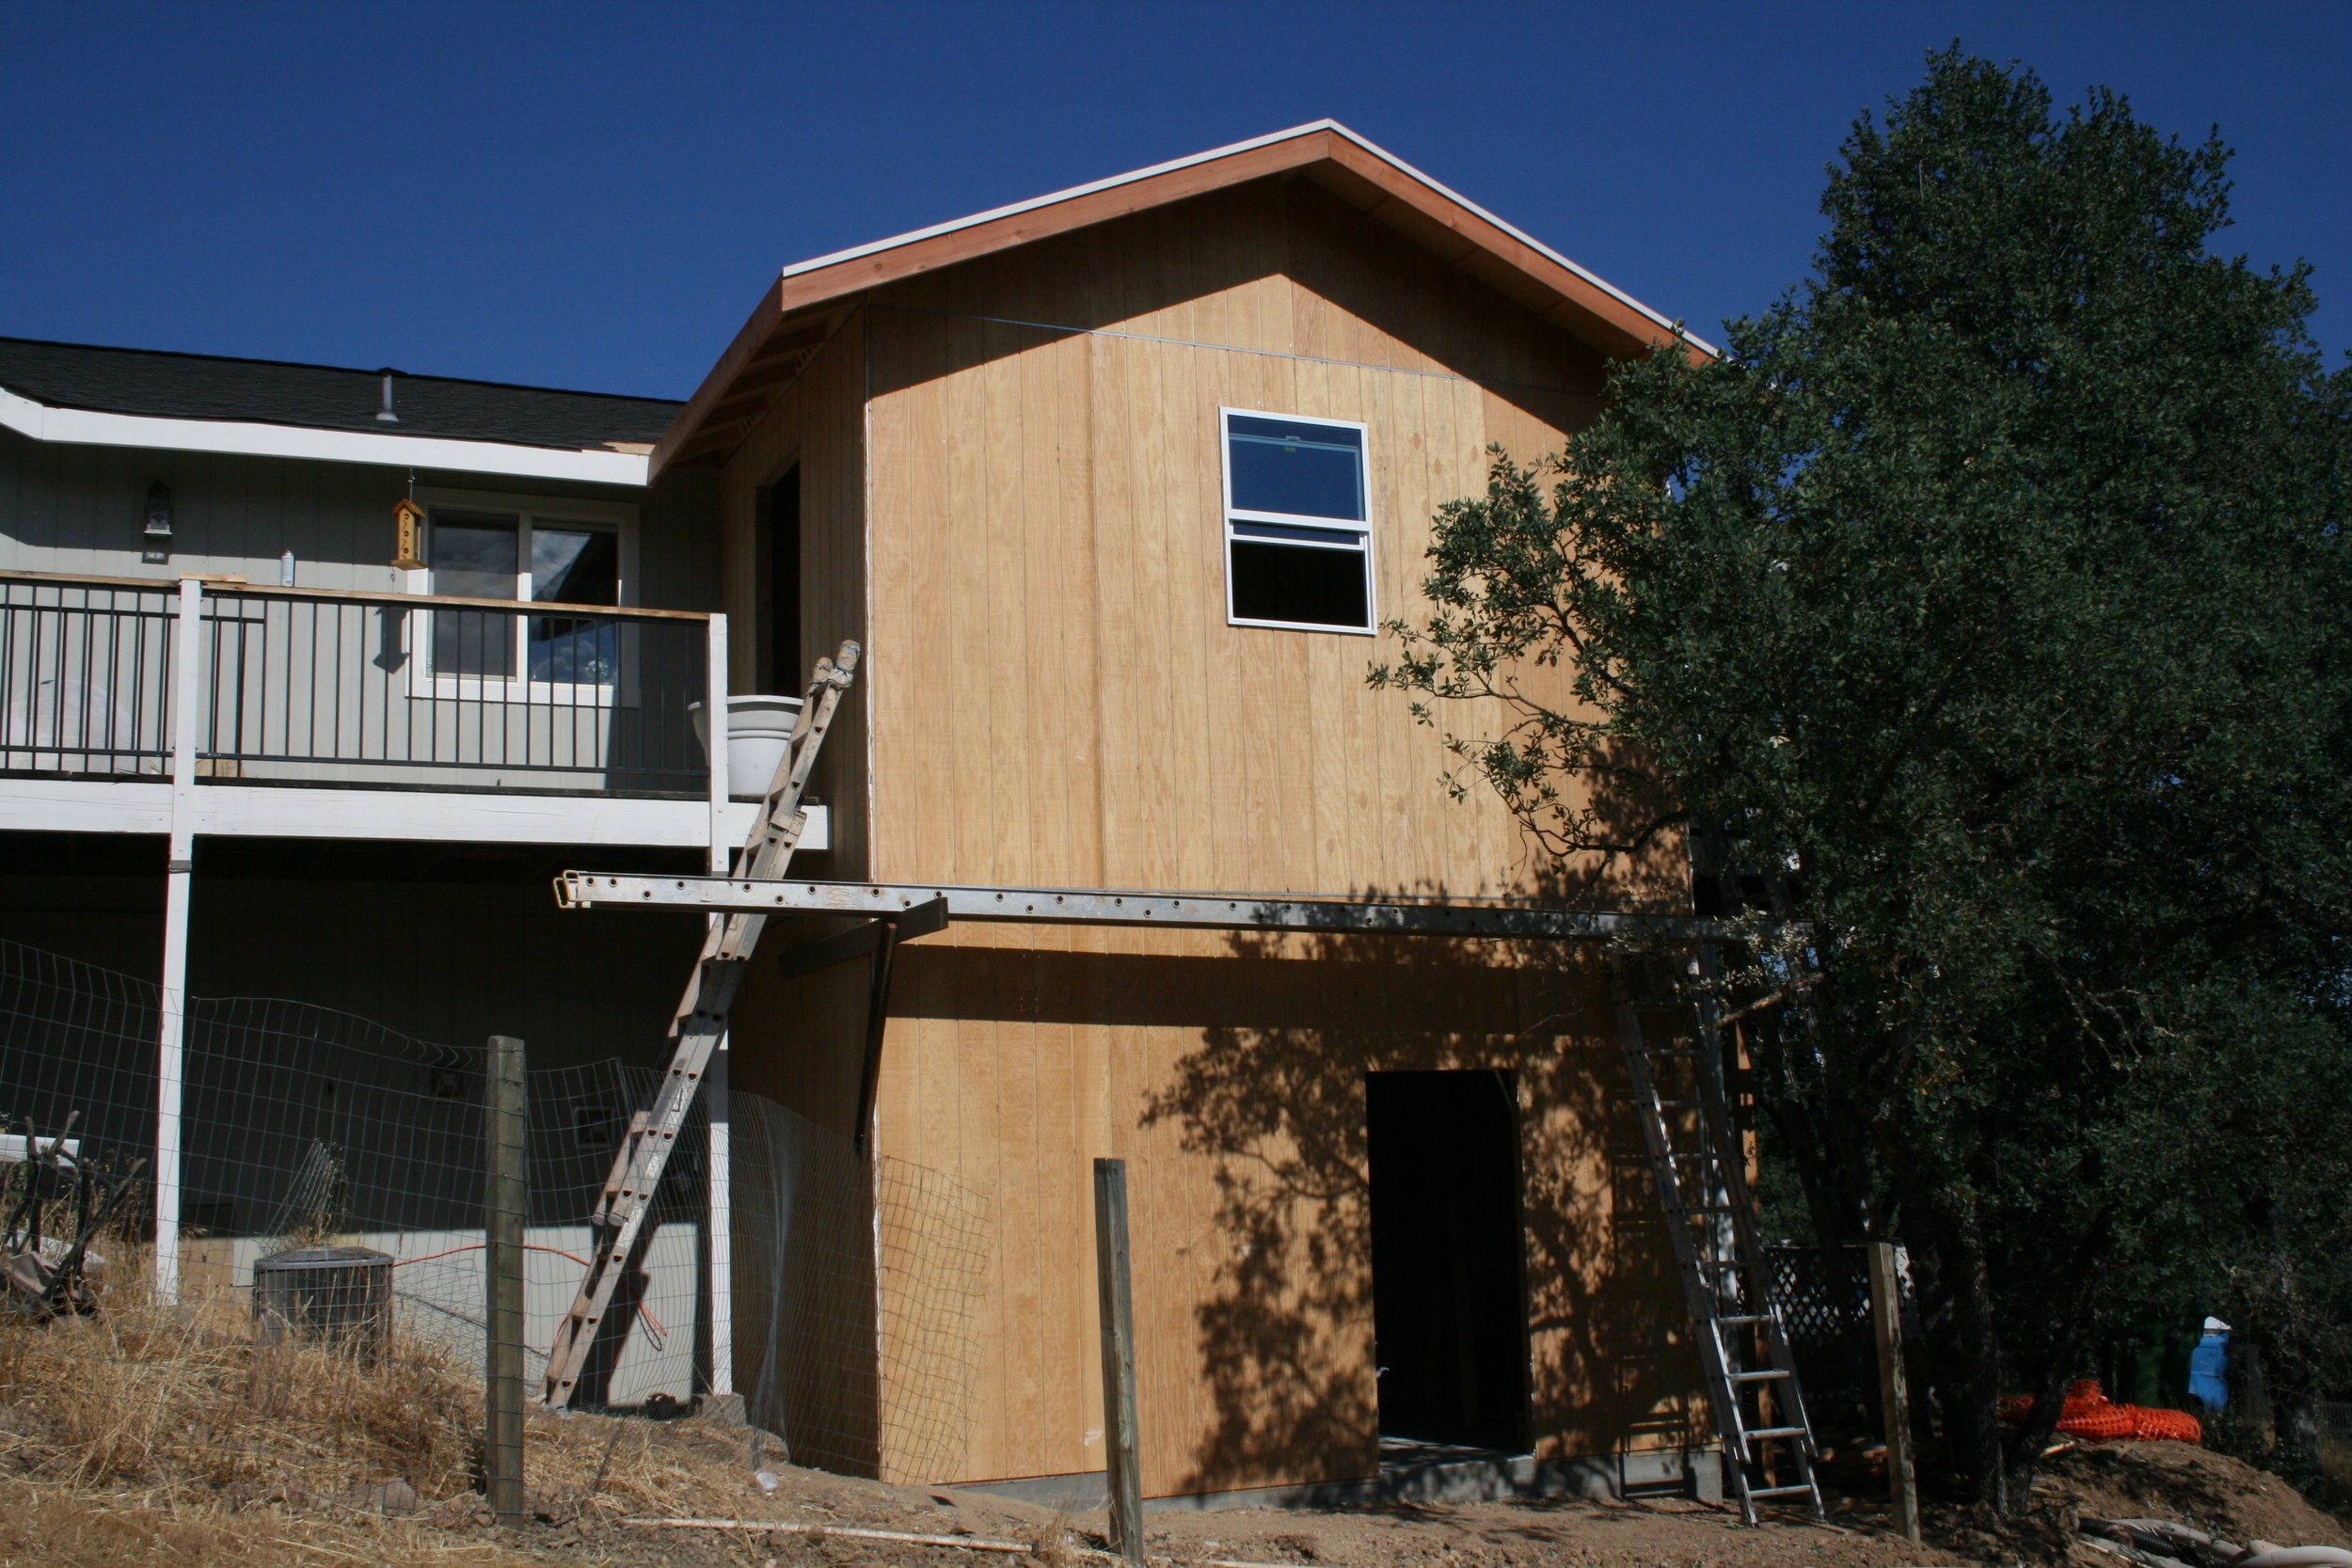
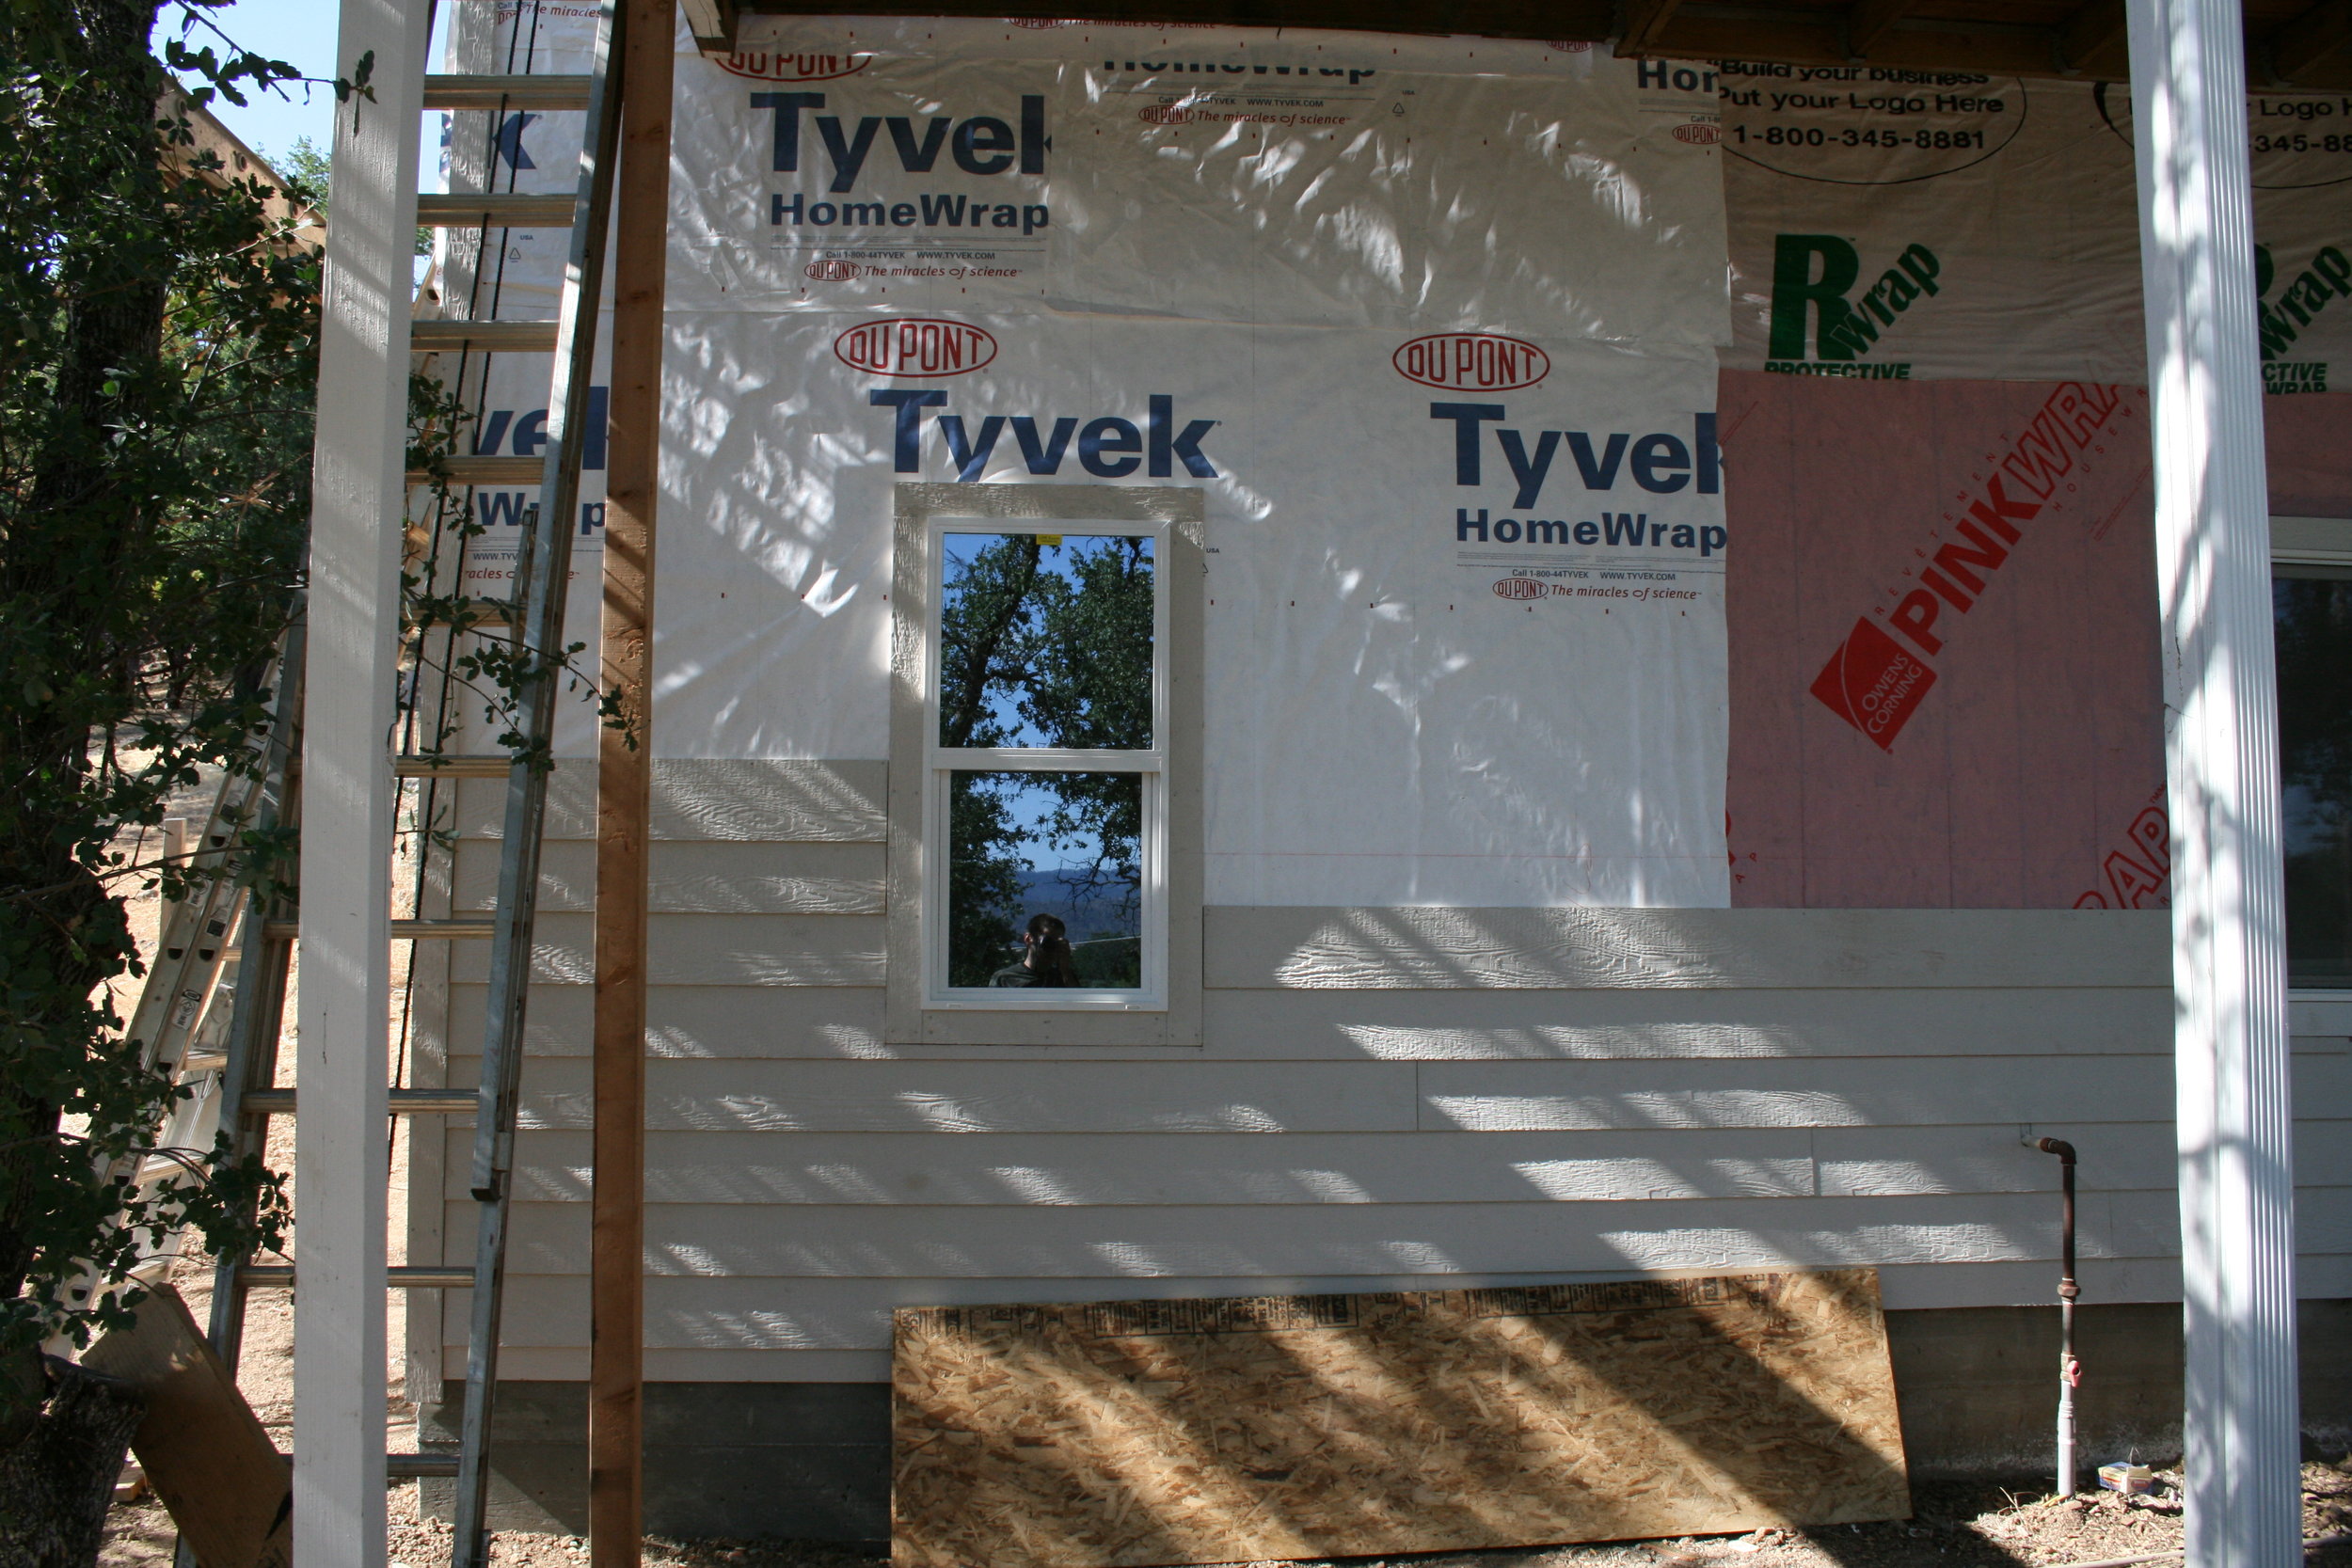
This week the windows were installed and some of the siding. The interior of the studio is still bare studs.
Norman Varney of A/V RoomService was able to get us an upgrade of their IsoPad product because their supplier was out of the standard version. They provided the upgraded IsoPad for the same price. Thanks Norm!
IsoPad acts as a buffer between the walls, floor and ceiling, allowing each to be acoustically isolated from each other. In other words, the walls, floor and ceiling are not in direct contact with each other. This stops vibrations or resonance in one surface from transferring to another.
I should have known things were moving forward too smoothly. Today, our contractor realized that there would be no way to get the HVAC ducts into the studio as originally spec'ed because of the height of the false ceiling (9' 10"). It seems an engineered structural beam - essentially supporting the entire Southwest corner of our house - was blocking the entry point into the studio. Yes, the evil beam.
For standard construction, this would not have been a problem. A standard ceiling is 8' high. However, A/V RoomService spec'ed out the EXACT interior dimensions of the studio for optimum performance. Even a small deviation could radically change the distribution of room modes and thus adversely effect the sound of the room. I was worried that a change in the height of the ceiling would likely necessitate a change to the width and length...and space was already at a premium.
After a few phone calls to Norm, we arrived at the next best ceiling height. 8' 2". Reduced from 9' 10". Quite a bit shorter, but still acoustically valid.
Here is the offending beam - the joists are fastened to it. The HVAC ducting will enter the studio below the beam, between the wall studs.

Audio engineer Matt McCabe's project studio and blog.
Blog Categories
Tags